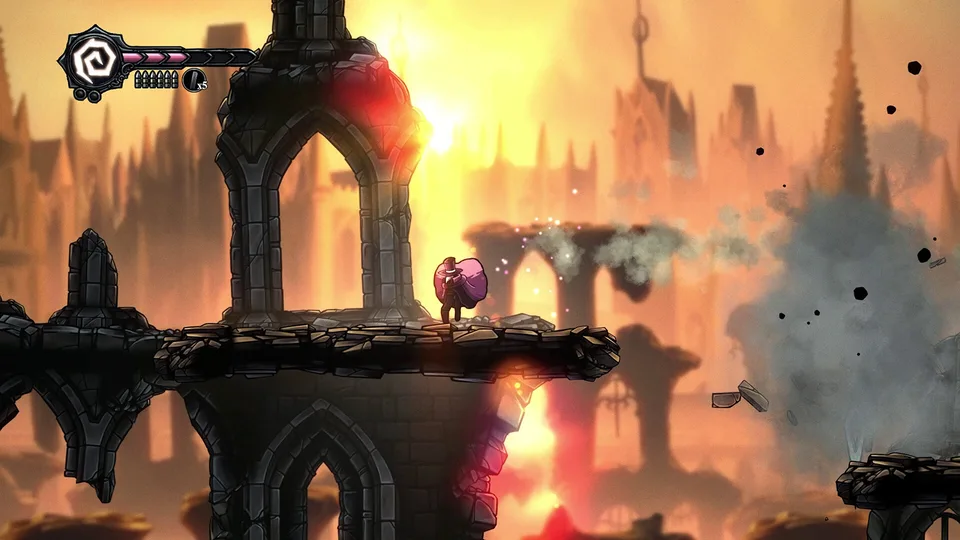
Crowsworn Syr Garen No Damage Boss Guide & Strategy
Discover community-tested strategies to achieve a no-damage victory against the Crowsworn boss. Learn essential attack patterns and movement tips.
Published: Crowsworn Wiki Editorial Team
Table of Contents
Understanding the Crowsworn Boss Encounter
When diving into the Crowsworn demo developed by Mongoose Rodeo, players are immediately thrust into a demanding, high-intensity boss encounter. According to community reports from players who have spent considerable time with the title, the battle requires aggressive yet precise positioning.
Unlike standard introductory segments or practice dummies, the demo drops you straight into the deep end. Because the experience lacks a formal tutorial, understanding the boss's attack patterns becomes paramount for anyone aiming for a no-damage or hitless run.
Analyze the Opening Phase: Watch the boss's initial jumps to anticipate whether it will unleash a mid-air blade barrage or trigger floor hazards.
Reposition Early: Stay slightly off-center in the arena to ensure you have enough reaction window for unpredictable attack arcs.
Manage Corvian Abilities: Tap the power button for a single-hit laser or hold it down for a close-range multi-hit bullet barrage when openings appear.
Essential Strategies for Dodging Shield Boss Attacks
Surviving the encounter without taking a single hit demands exact spacing and mastery of your movement toolkit. Community feedback highlights several specific attacks that often catch players off guard, along with reliable counter-tactics.
When the shield boss leaps into the air and initiates a blade barrage, the projectiles start from the middle and rain outward toward the walls. Players note that dashing does not grant full invulnerability frames akin to late-game titles like Hollow Knight, making precise positioning critical.
Air-dash toward the side where the spikes begin to safely navigate combined floor and air assaults.
Jump and execute a downward slash (pogoing) to stay clear of sweeping floor spikes.
Utilize the air-dash stall mechanic by holding the key slightly longer to float over tricky ground hazards.
Remap your keyboard or controller layout to prioritize instant access to dodge, attack, and healing inputs.
Overcoming Control Hurdles and Optimization
A common pain point shared among early players involves default control layouts and the initial absence of mouse mapping. Fortunately, community members have found success by remapping inputs to mirror familiar metroidvania setups.
Tip
Design a layout that places primary actions like attacking, dodging, healing, and utilizing Corvian abilities on comfortable, adjacent keys or buttons to drastically reduce reaction time during frantic combat sequences.
As development continues and Mongoose Rodeo reviews player feedback through Steam discussions and backer updates, understanding these foundational combat mechanics will keep you prepared for whatever challenges lie ahead in the full release.